|
This past week in class I took a brief break from working on the independent project. The jazz combo band at our school is having a concert and wanted the game design pathway to make a program for them. This program was due to be done at the end of last week and so I spent all my time working on and finishing it. The end product looked pretty good. For my first time using inDesign I think I did well. The biggest challenge I had while creating this was my lack of knowledge in how to use inDesign effectively. I mostly got around this by doing much of my graphics in Photoshop. From there I could easily take them into inDesign and arrange them in a way that looked appealing. Next week I'm looking forward to getting back on track with my project. The chicken is finally done being modeled and simplified so I can focus on animating it. Next Week: -Create Chicken Animations -Try not to die 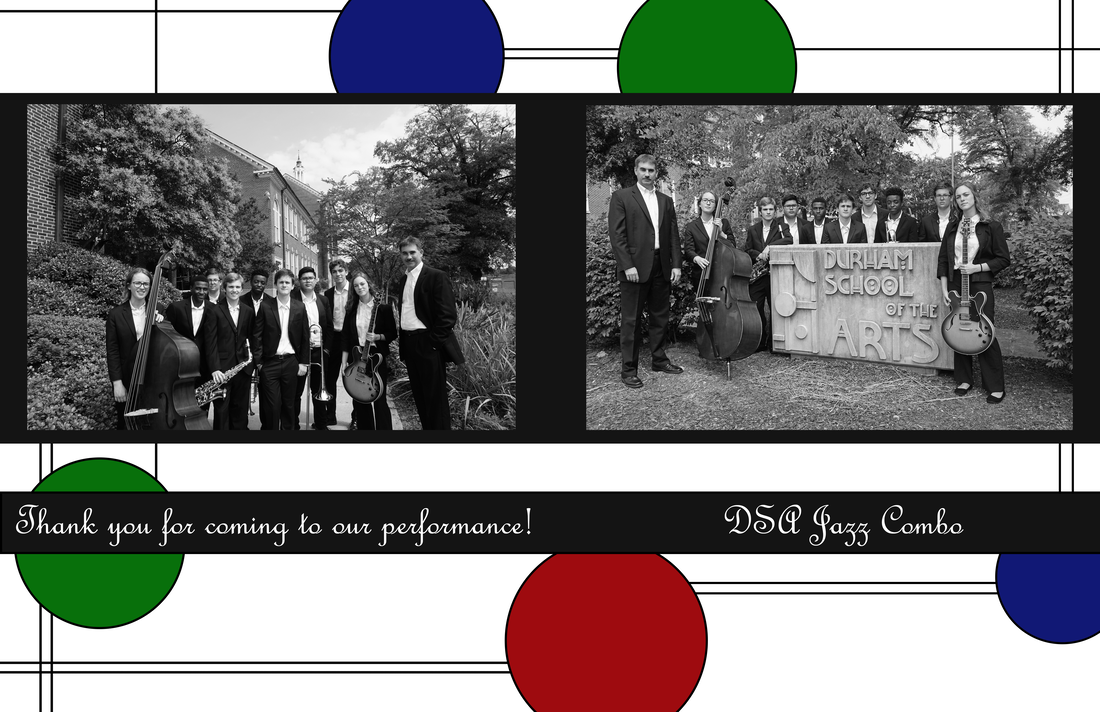
0 Comments
There are many reasons inDesign is different from Photoshop. This week I have been tasked by my teacher to create a program for our school's jazz combo concert. I was told to do this in inDesign which In have never used before. My goal is to figure out how to use it quickly using what I already know from Photoshop and using Google to find answers to any other questions I have. The immediate thing that hits me when I start in inDesign is that everything is based off of rectangles. Anything you put on the page must first have a rectangular area prepared for it. I can't say I totally understand the true reason for this except that it makes sure your design looks professional. When you use only rectangles it helps keep everything aligned and looking nice. All of the writing and specific pictures I need have been given to me. It is my job to arrange them in a way that is clear and pleasant to look at. For my design I will mostly be using basic shapes to frame the words I'm given. Our school logo (seen below) is just simple lines and circles. Using this as inspiration I aim to create a simple, but effective program with just enough flair to show the creativity of our school's students. -Why I'm learning inDesign -Some differences it has from Photoshop -My goal this week This week has been a flurry of activity. I created a tiling floor, researched chicken movement, and even started learning inDesign. One big thing our group has had to focus on while making textures is making sure they are tile-able. This often involves going into Photoshop and editing textures by hand. This is a slow and tedious process but extremely worth it when you put it into the game. Each day the game design room is looking better and better. We've even started importing some of the key items into the game. An example of this is the flash drive which I created two weeks ago is now being put into the room as a pick up item. Some other challenges we've faced is making all the little details work. For example the computer monitors we made for our scene were too top heavy and fell over when gravity was applied to them. To fix this problem we decided it would be best to make them click into place when the player sets them down. This would allow the player to both freely interact with the computer monitors, as well as keep them standing up when they're placed the right way. Next week we will: -Create chicken animations -Finish textures -Make the game design room work 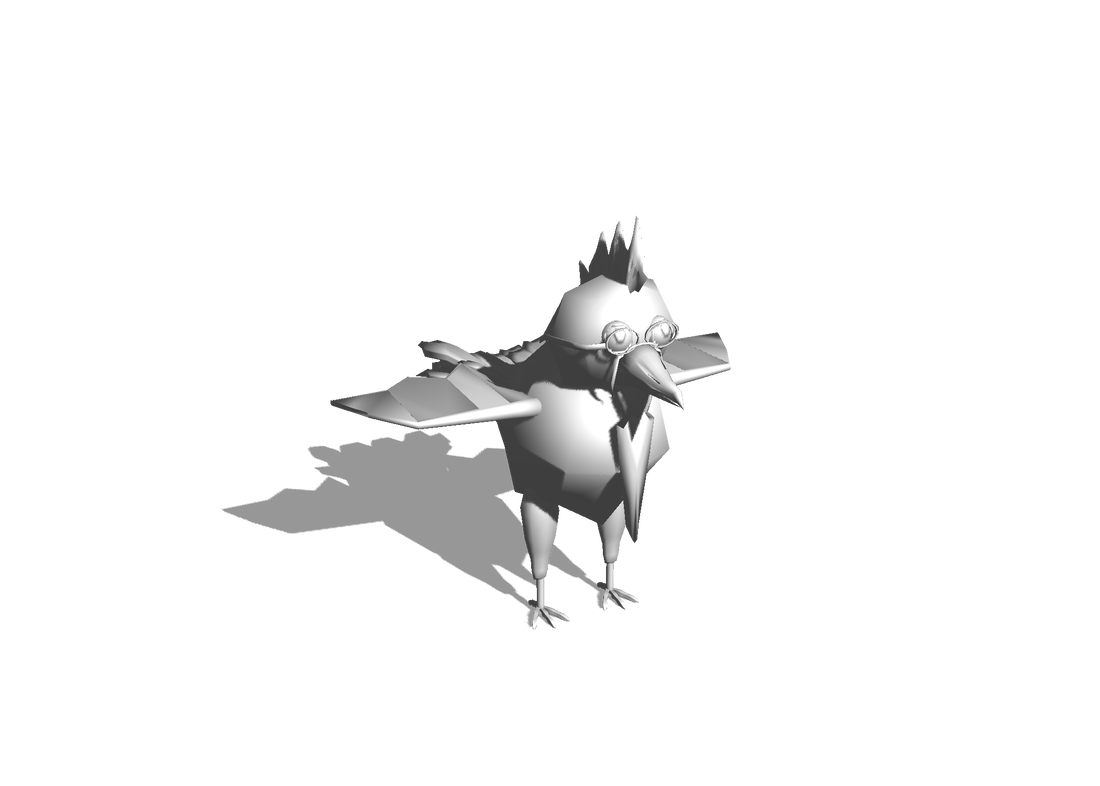 Complete Chicken Model How does a chicken move? How does it walk, eat, or look around? How does it fight. These are the questions I set off to answer before I dove into the animations for our main boss enemy. I wanted to make sure I had a firm grasp on what real chicken movements were like before I started modifying them for the purposes of our game. The point of the animations I will soon create isn't to be accurate completely to how a real chicken moves, but instead to build off those natural motions into something more sinister and scary. The first thing I did was to look up reference images. I wanted pictures that captured the essence of each movement. With this picture I can know what at least one frame in my animation should look like. Once I have that I can build to and from that frame using my other research. I included some images below that I used. The next big thing to find is what the skeleton of a chicken looks like. This is very important as I will need to make a skeleton of my own to animate the model on. If I don't create this model skeleton accurately, when I go to animate the chicken I will have a hard time getting it to move correctly. Once I have this done I can start to plan how the animations will look in my mind. Soon I will be able to model and try and put them on the model. I check my imagined animations with my research to make sure they seem feasible. I don't want to have an epic imagination all planned out in my mind just to find that it doesn't match at all with something a chicken would really do. An example of this is the attack animation I need to make. Originally I didn't have much of an idea of how I would actually make the chicken attack the player. So I looked up images of fighting chickens. This led to a bunch of sad images of roosters fighting, but also some very useful material. I didn't know that chicken's pounced when they fight. Now I can incorporate that unique movement into the final chicken animations. -Why research is important -My research process  Image Credit: https://goo.gl/images/EpaCoA  Image Credit: http://chickscope.beckman.uiuc.edu/explore/embryology/day14/skeleton.html The past week in advanced studies was pretty crazy. We only had three days of school due to the hurricane and college applications for several colleges were due on the 15th. That said we still got some good work done in game design. The chicken model was finished which means these next couple of weeks will be filled with animations involving chickens. To get prepared I did a little bit of research on the chicken which will be detail ed in full in a fun blog post I plan to make in the future. The game design room is being extended to the entire top level of our school's new building. With it came a slew of new models being created, simplified and textured. Due to the short week, we mostly just started projects last week which will get finished in the weeks ahead. It is exciting to finally be beyond the game design room. It feels as though we, as a project group, are finally out of the tutorial stage of making this game. As the kids these days say, "The grind starts now!" Next week we will work on: -Creating models for the new rooms -Creating chicken animations -Finishing textures and functionality codes in the game design room 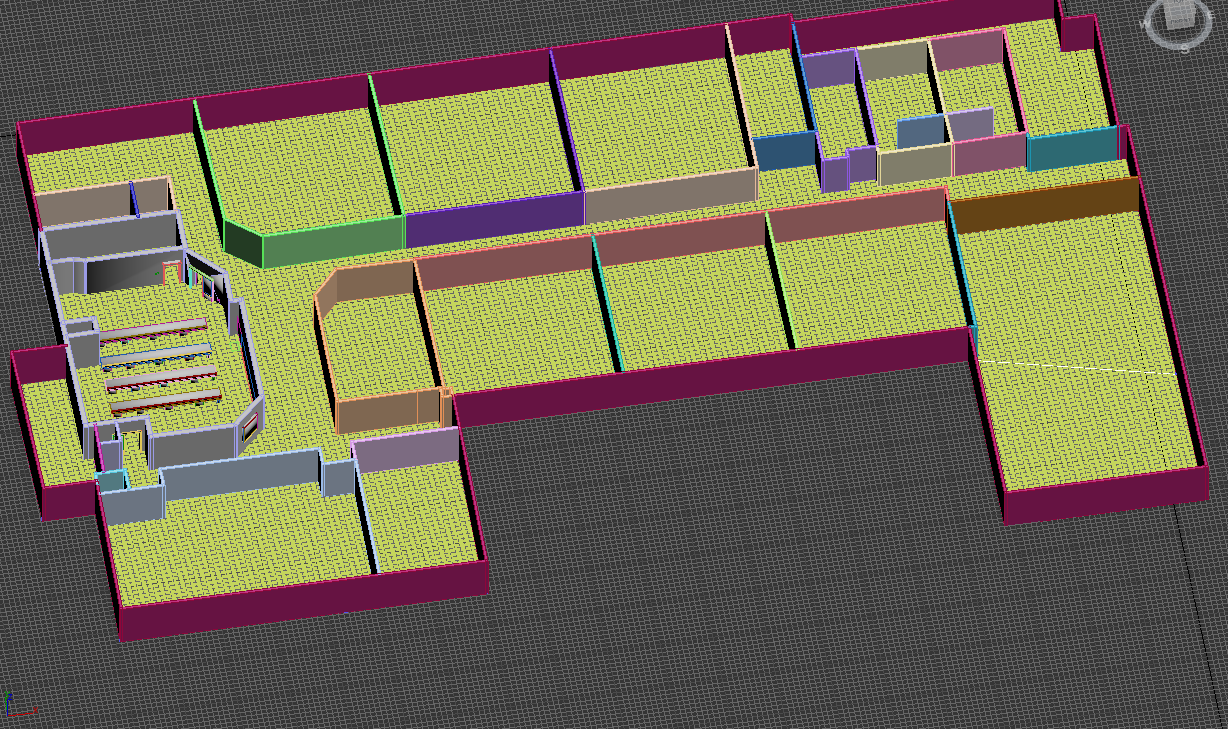 This past week in advanced studies things are really coming together for the game design room. We started importing textures into the room and things are looking good. As more and more things start to look like a complete game it encourages us to work even harder on our project.
This week I worked on two things. I made a pig logo to go with the chicken one I finished last week and I made the model and animation for the flashdrive. The flashdrive is one of the key items the character will need to collect to finish the game. Because of this I wanted an inviting idle animation for it. This animation would help it not only stand out from the rest of the in game items, but also it will make sure players won't accidentally miss it. This will prevent frustration and also just look good in-game. For a video of this animation, click on my selected works page. The other people in my group have been focused on completing assets for the GAD room. All of the models are finally simplified. What they are now focusing on is creating textures and getting all the box colliders into the scene that need to be there. Next week I will work on: -Creating more 2d assets including textures if needed -Animating any 3d models that need to be animated |
